5 Best Dutch Ovens for Campfire Cooking: In-Depth Comparison
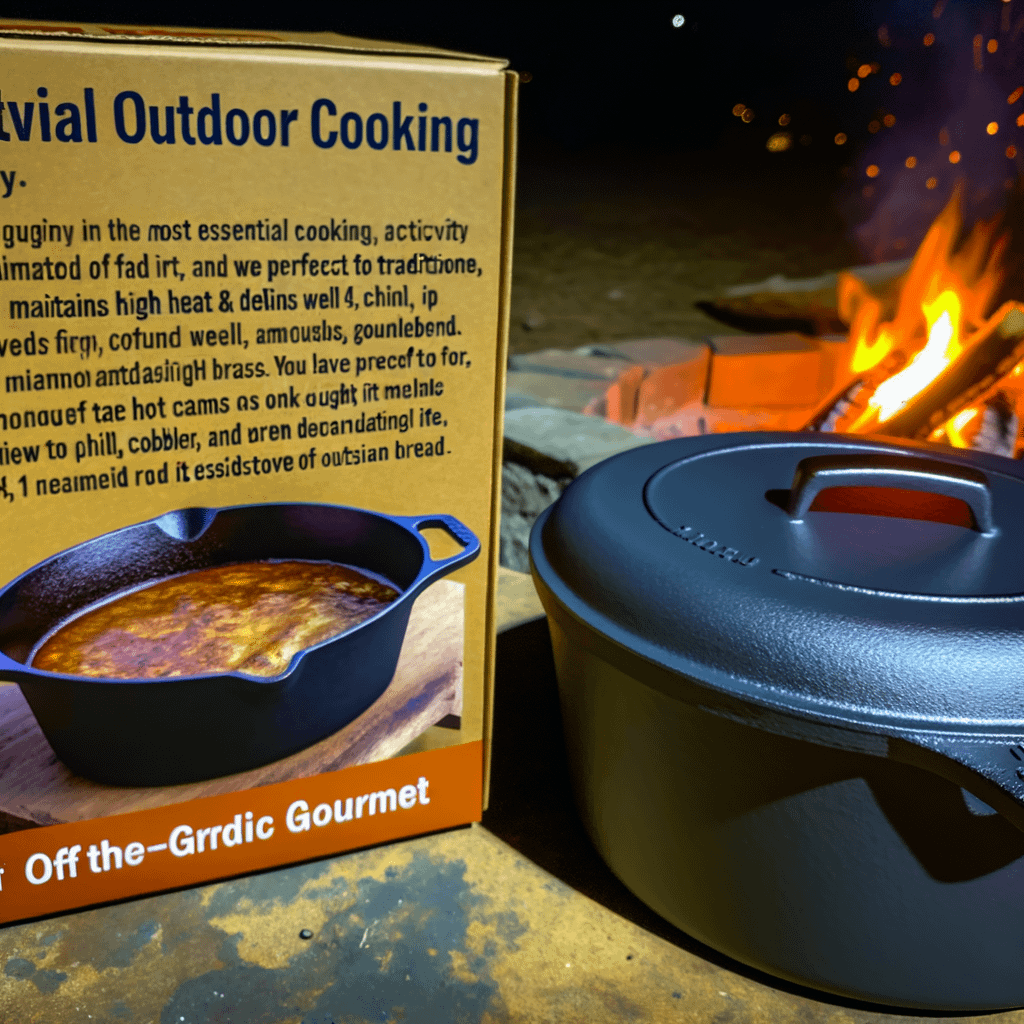
Campfire cooking isn’t just about survival—it’s about turning the great outdoors into your personal gourmet kitchen. There’s something primal and satisfying about preparing hearty meals over glowing coals under the stars. But to take your fireside feasts to the next level, one tool trumps all: the Dutch oven. This camping staple opens up a whole new world of culinary possibilities, from stews and chili to cobblers and artisan bread.
Whether you’re a solo backpacker or the designated camp chef for a hungry group, choosing the right Dutch oven makes all the difference. In this guide, we’ll break down what to look for in a campfire Dutch oven and compare the 5 top-rated models in 2025 to help you cook smarter—not harder—in the wild.
What to Look For in a Dutch Oven for Camping
Not all Dutch ovens are created equal, especially when it comes to cooking outdoors. Your first decision is the material. Cast iron is the classic choice—it’s durable, retains heat well, and can handle high campfire temps. Enameled cast iron is easier to clean but can’t be used directly on coals. For lightweight convenience, anodized aluminum is a solid option for backpackers.
Size matters, too. A 4 to 6-quart Dutch oven is perfect for 2–4 campers, while larger 8-quart models serve up hearty portions for families or groups. Look for a flat-lidded version if you plan to pile hot coals on top—it ensures even heat distribution for baking and roasting. A tight-fitting lid keeps that precious heat locked in and prevents ash contamination.
Legs or no legs? Campfire Dutch ovens traditionally sport three legs, allowing you to nestle them in hot embers. Bonus: the legs also improve air flow underneath. However, flat-bottom models offer more versatility for stovetop or grill use. You’ll also want to consider portability—cast iron can be hefty. Look for models with a wire bail handle for easy hanging or carrying.
Ease of cleaning is key, especially on multi-day trips. Pre-seasoned cast iron saves you prep work and helps prevent rust. Regular maintenance, like proper seasoning and storage, will help keep your Dutch oven adventure-ready for decades.
Top 5 Best Dutch Ovens for Campfire Cooking
Lodge Deep Camp Dutch Oven
Key Features: 8-quart capacity, cast iron, comes with flanged lid and integral legs for campfire use. Pre-seasoned and made in the USA.
Pros & Cons: Excellent heat retention and distribution. Durable and built for rugged use. However, it’s on the heavy side and may require a lid lifter for safe handling.
Ideal Use Cases: Great for group meals, baking bread, or slow-cooked stews. Perfect for car campers and base camp setups.
GSI Outdoors Hard Anodized Dutch Oven
Key Features: 10-inch diameter, hard-anodized aluminum, lightweight construction, nesting design with folding handles.
Pros & Cons: Super light—great for backpacking. Heats quickly and cleans easily. However, it lacks the traditional campfire legs and may not hold heat as well as cast iron.
Ideal Use Cases: Ideal for solo adventurers or minimalist campers who need light gear without compromising on function.
Camp Chef Classic Seasoned Cast Iron Dutch Oven
Key Features: 6-quart capacity, cast iron, flanged lid, lift tool included, thermometer notch built into lid.
Pros & Cons: Handy temperature notch is great for precision cooking. Comes ready to use, but slightly smaller than some may need for group meals.
Ideal Use Cases: Fantastic for small families or groups who enjoy structured recipes and comfort food by the fire.
Overmont Camp Dutch Oven
Key Features: 5-quart size, pre-seasoned cast iron, loop handle, comes with lid lifter and storage bag.
Pros & Cons: Affordable and versatile. Comes with useful accessories. Slightly shallower than comparable models, and heat distribution is just average.
Ideal Use Cases: Best for beginners or casual campers who want a reliable all-rounder without breaking the bank.
Bruntmor Pre-Seasoned Cast Iron Dutch Oven
Key Features: 6.5-quart capacity, cast iron, dual-purpose lid (can be used as a skillet), side handles.
Pros & Cons: Smart design with skillet lid adds value. Budget-friendly. Heavier than most and lid is loose-fitting compared to higher-end options.
Ideal Use Cases: Great combo tool for campers who want to minimize gear. Suitable for frying, baking, and roasting.
Head-to-Head Comparison Table
| Model | Capacity | Material | Weight | Lid Features | Price Range | Best For |
|---|---|---|---|---|---|---|
| Lodge Deep Camp | 8 qt | Cast Iron | 19 lbs | Flanged, tight-fitting | $$$ | Large groups |
| GSI Outdoors | 10 in | Anodized Aluminum | 3.2 lbs | Flat lid, nested design | $$ | Backpacking |
| Camp Chef Classic | 6 qt | Cast Iron | 14 lbs | Flanged, thermometer notch | $$ | Small families |
| Overmont | 5 qt | Cast Iron | 13 lbs | Flat lid | $ | Casual camps |
| Bruntmor | 6.5 qt | Cast Iron | 17 lbs | Skillet lid | $$ | Multi-use campers |
Tips for Cooking with a Dutch Oven When Camping
Start with a solid fire ring: place hot coals underneath and on top of the oven for even baking. The rule of thumb? Use twice as many coals as the oven’s diameter—so a 10-inch oven gets 20 coals.
Control heat by adjusting coal placement and checking frequently. Rotate the oven and lid 90 degrees every 15 minutes for even cooking. For baking, avoid peeking frequently as it releases precious heat.
Cleaning is easiest while the oven is still warm. Use water and a scrub brush—never soap. Dry it thoroughly and apply a thin layer of oil before storing. According to the Lodge Cast Iron company, “Proper care of seasoned cast iron will ensure your cookware lasts for generations.”
For storage, keep the lid ajar with a paper towel inside to absorb moisture and prevent rust. Store in a dry, ventilated space between adventures.
FAQs About Campfire Dutch Ovens
Can I use a regular kitchen Dutch oven over a campfire? Technically yes, but it’s risky. Enameled ovens can crack or warp under direct flames. Always use cast iron models specifically made for campfire applications.
How to season a cast iron Dutch oven? Coat it lightly with vegetable oil, then bake it upside down at 450°F in your home oven for an hour. Let it cool and store it in a dry place. Repeat as needed to build a non-stick, rust-resistant surface.
How do I transport a Dutch oven safely in my gear? Use the original box or a padded carry bag. Line the inside with paper towels to absorb moisture and prevent banging. Make sure it’s fully dry and packed securely in your vehicle or backpack to avoid damages.
Conclusion
From heavy-duty group-sized ovens to ultralight trail companions, these Dutch oven picks have something for every style of camper. Whether you’re simmering chili or baking mountain muffins, the Lodge Deep Camp Dutch Oven stands out as the top performer for versatility and build quality.
If you need something lighter for on-foot adventures, the GSI Outdoors model is a strong contender. For cost-conscious newcomers, Overmont and Bruntmor offer budget-friendly functionality that’ll still elevate your mealtime game.
Choose the Dutch oven that fits your style, pack it up, and dive into the delicious side of campfire cooking. With the right gear and a little practice, you’ll be impressing hungry hikers in no time.
“`