
Dehydrated Camping Food Recipes You Can Make at Home
Dehydrated Camping Food Recipes You Can Make at Home
Imagine hiking through a lush forest trail, reaching your campsite, and sitting down to enjoy a hot, homemade meal—without dragging a heavy cooler or relying on overpriced store-bought food pouches. That’s the power of DIY dehydrated meals. You control the ingredients, the flavors, and the nutrition, all while slashing your camping food costs. Let’s unlock the secrets to creating easy, delicious, and travel-friendly dehydrated meals right in your kitchen.
Why Choose Dehydrated Meals for Camping
Dehydrated meals are a game-changer for backcountry trips and car camping alike. They’re ultra-lightweight and compress into tiny packages, saving crucial space in your backpack. Since they don’t require refrigeration, you can bring them on multi-day trips without worry. Just add hot water at the campsite and your meal is ready in minutes. Cleanup is minimal, and you’re also cutting down on waste-filled packaging that comes with store-bought options. It’s a win for your pack weight—and for the planet.
Essential Equipment for Dehydrating at Home
To start dehydrating your own camping meals, you’ll want a reliable food dehydrator. Top models like the Excalibur 3926TB or Nesco FD-75A offer consistent airflow and temperature control, which is crucial for food safety. If you’re experimenting or on a budget, you can also use your oven at low temperatures or try solar drying in dry, sunny climates.
Helpful accessories include vacuum sealers to preserve freshness and prevent moisture exposure. Use Mylar bags with oxygen absorbers for long-term storage to keep bacteria and mold at bay. With the right gear, your dehydrated meals can last from several months to a full year depending on storage conditions.
Tips and Best Practices for Dehydrating Food
Before drying, slice ingredients thinly and uniformly to ensure even dehydration. Pre-cook meats and grain-based meals like pasta or rice for quicker rehydration on the trail. Blanch vegetables like broccoli, carrots, or green beans to lock in color, boil off enzymes, and improve texture.
Always dehydrate at recommended temperatures—typically 125°F to 135°F for fruits and vegetables, and 145°F to 160°F for meats. Use parchment paper or silicone sheets for sticky items. Once dried thoroughly, let ingredients cool before storing to prevent condensation and spoilage. Rehydration is just as important: allow meals to soak for 10–15 minutes in hot water and give them a stir to ensure even texture and taste.
Dehydrated Meal Basics: What Works and What Doesn’t
Grains like rice, couscous, and quinoa dehydrate beautifully and form the base of many complete meals. Vegetables, lean meats, and cooked legumes dry and rehydrate well, making them ideal for balanced trail nutrition. You can even dehydrate sauce bases like marinara or curry by spreading them thinly on dehydrator trays with liners.
Avoid fatty, oily foods like avocado or cheese, which can go rancid easily. Dense items like whole eggs (unless using powdered versions) can be unsafe unless handled carefully. Stick to components you can mix and match, allowing for meals rich in protein, complex carbs, and healthy fats.
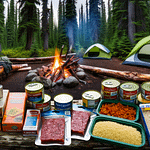
Easy Homemade Dehydrated Camping Meal Recipes
Breakfast Ideas
- Instant Oatmeal Packs: Combine rolled oats with dehydrated apple chips, banana slices, raisins, chopped nuts, and cinnamon. Add powdered milk for creaminess. Pour boiling water over and stir for a warm camp breakfast.
- Breakfast Scramble: Mix dehydrated scrambled eggs (using commercially available powdered eggs or home-dehydrated cooked eggs), bell peppers, onions, and sausage crumble. Just rehydrate with hot water and heat for a protein-packed start to your day.
Lunch & Snack Ideas
- DIY Hummus Mix: Blend dried chickpeas, garlic, lemon powder, and tahini powder into a dry mix. Rehydrate with water and olive oil. Serve it with dehydrated veggie chips or homemade crackers.
- Chili Lime Lentil Soup Mix: Combine cooked, dehydrated lentils, dried tomatoes, chili powder, lime powder, and onion flakes. This spicy, filling soup just needs hot water to bring it to life.
Dinner Recipes
- Spaghetti Bolognese: Dehydrate cooked spaghetti and a separate layer of meat-based tomato sauce. Pack them together and rehydrate with hot water for a comforting classic.
- Creamy Potato and Leek Soup: Blend blanched, dehydrated potatoes, leeks, onions, and milk powder. Add a bouillon cube for flavor. This creamy soup is especially satisfying on cold nights.
- Curry Rice with Chickpeas and Vegetables: Combine pre-cooked rice, dehydrated chickpeas, bell peppers, carrots, and curry seasoning. Rehydrate with water and let simmer gently for a flavorful dinner.
Dessert Ideas
- Fruit Leather: Puree strawberries, apples, or mangoes and spread thin on dehydrator trays. Sweeten with honey if desired. Roll them up for an energy-boosting snack.
- Apple Cinnamon Crisp Mix: Mix dehydrated apple slices, oats, brown sugar, and cinnamon. Top with a few spoonfuls of hot water and enjoy a warm dessert at your campsite.
How to Store and Pack Your Dehydrated Meals
Proper storage is critical. Store your meals in airtight containers or vacuum-sealed bags with oxygen absorbers. Keep them in a cool, dark place to extend shelf life and preserve flavor. Mylar bags are excellent for this and can last for months.
Portion meals individually to eliminate unnecessary packaging on the trail. Label each meal with cooking instructions and dates to track freshness. Use resealable freezer bags or compact containers to make packing a breeze and avoid cross-contamination.
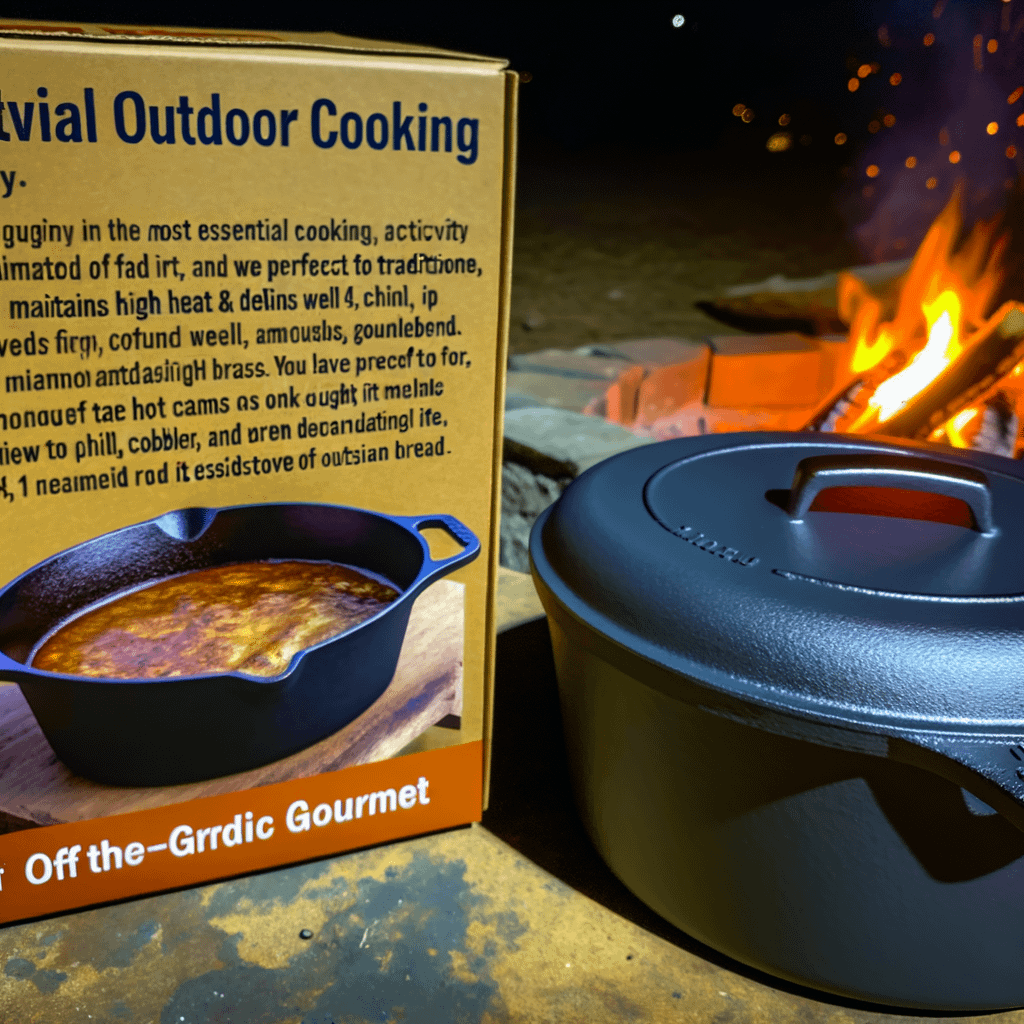
How to Rehydrate and Cook Meals While Camping
The boil-and-soak method is the easiest. Simply add your dehydrated meal to a pot, pour in boiling water (usually a 1:1 or 1:2 ratio of food to water), and let it soak for 10–20 minutes. Cooking over a camp stove or using insulated food jars can keep food hot and reduce fuel use.
“Practice at home before you head out,” says Cliff Jacobson, wilderness survival expert and author. “You’ll get a feel for how much water and time each meal needs.” Pre-measured spices, oil packets, and reusable utensils can further streamline your wilderness kitchen setup.
Sample 3-Day Dehydrated Meal Plan for Camping
Day 1:
- Breakfast: Oatmeal with dried blueberries and almonds
- Lunch: Hummus with veggie chips
- Dinner: Spaghetti Bolognese
- Snack: Fruit leather
Day 2:
- Breakfast: Breakfast scramble with sausage
- Lunch: Lentil soup
- Dinner: Potato and leek soup
- Dessert: Apple crisp mix
Day 3:
- Breakfast: Oatmeal with banana chips and walnuts
- Lunch: Hummus with crackers and trail mix
- Dinner: Curry rice with chickpeas
- Snack: Dried apple slices
Total calories per day should approximate 2,500–3,000 depending on your activity level. Adjust servings and snacks to your needs and always pack extra meals just in case.
Final Tips & Troubleshooting
Don’t rush the drying process—fully dried food should feel leathery or crisp, not sticky or soft. Avoid storing warm foods and always allow dry goods to cool before sealing. If your meals rehydrate unevenly, try crushing or powdering larger ingredients before packing.
Customize your recipes to be allergen-friendly or suited to dietary lifestyles. Use tamari instead of soy sauce for gluten-free needs or skip dairy using coconut milk powder for vegan meals. Embrace creativity and trial-and-error to make meals your own.
Conclusion
Creating dehydrated camping meals at home is easier, tastier, and more versatile than you might think. You’ll save money, reduce waste, and ensure your nutritional needs are met—even in the backcountry. Say goodbye to bland, overpriced pouches and hello to meals made with love and flavor.
Ready to hit the trail with your own homemade meal arsenal? Download our free printable dehydrated recipe cards and packing checklist to get started today.
“`